Note: Only district administrators (or school administrators at an independent organization) have access to edit SSO settings.
If you need to edit your single sign on (SSO) connection(s), you can do so from your platform pages or from the rostering pages within the wizard.
● To edit
single sign on connection(s) within the rostering pages wizard, see Define Login Options ![]() in Import
Management Help.
in Import
Management Help.
● To edit your single sign on (SSO) connection(s) from your platform pages, see steps below:
1. Log in as a district administrator, and open the My Schools page.
2. On the left panel, click Roster. The Roster Dashboard appears.
3. Click the Roster Actions button, and then click the Manage SSO Configuration option.

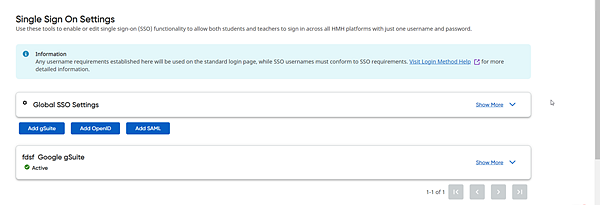
The Single Sign On Settings page appears.

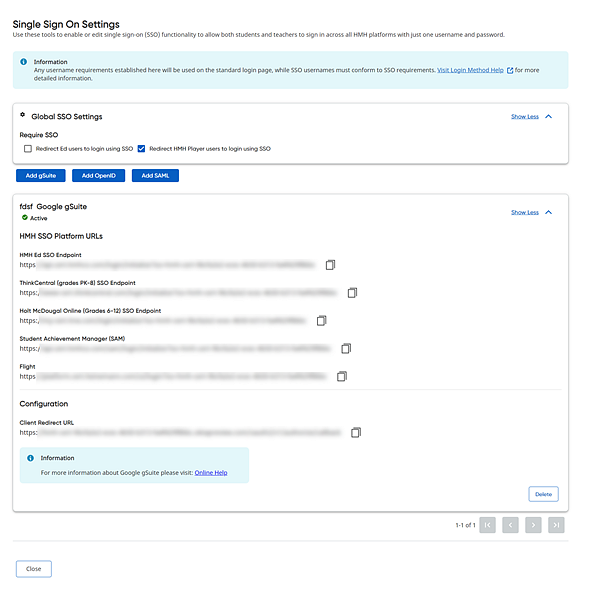
4. In the card of the connection to be edited, click Show More.

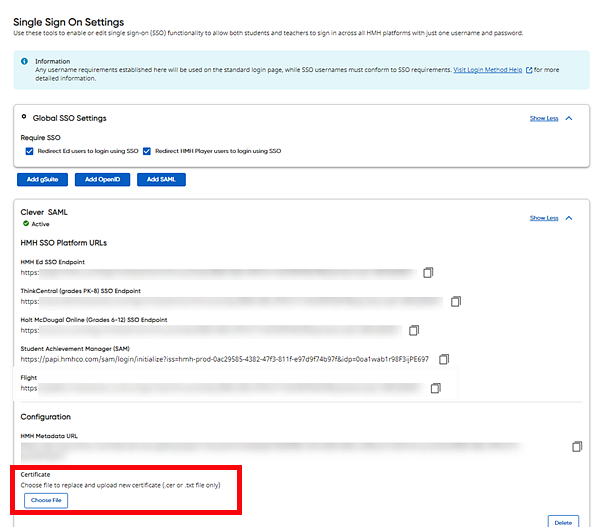
5. Edit your SSO connection as needed. Editing is limited to the SAML SSO connection; currently you can update your SAML SSO certificate by clicking the Choose File button in the Certificate area.

6. If you want to delete a connection and create a new one, then click Delete and create the new SSO URL.